Adding databases to the Estimating Management Console (EMC)
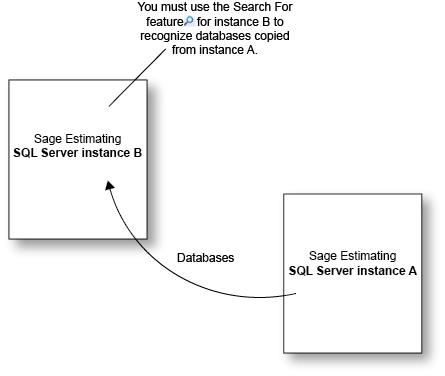
Sage Estimating allows the use of just one active SQL Server instance at a time. The active instance is a "closed" SQL Server instance. Sage Estimating does not recognize databases (Address Book or standard databases) transferred or copied from other SQL Server instances unless they are added by way of the Search For feature.
For example, if you have two Sage Estimating installations, Install A and Install B, you cannot copy Address Book databases by copying them from Install A's SQL Server instance to Install B's SQL Server instance alone (using SQL Server Management Studio's built-in Copy Databases wizard, for example). You need to also open the Estimating Management Console and use the Search For ![]() button in the Address Book Companies/Contacts toolbar.
button in the Address Book Companies/Contacts toolbar.

You can switch active SQL Server instances at any time for Sage Estimating by starting the Configuration wizard, selecting Server from the left-hand pane, and clicking [Change] from the right-hand pane.
To copy databases from one Sage Estimating SQL Server instance to another:
- Ensure both SQL Server instances are using the same version and that the Sage Estimating installations they serve are the same version.
- Copy the desired databases from the source to the target SQL Server instance. See the SQL Server Management Studio Help for instructions.
- Start the Estimating Management Console on the target Sage Estimating installation.
- At the top of the Estimating Management Console, click either [Standard DB] or [Address Book], depending on the databases you want to share.
- In the left-hand navigation pane, click the Search For button
 .
. - In the Available Databases window, select the check mark next to each database you want to add to the target SQL Server instance and click [OK].
For example, ensure both SQL Server instances are using SQL Server Express 2014 and both instances are serving Sage Estimating 22.1 installations.
The Estimating Management Console locates the databases you copied into the target SQL Server instance and displays them in the Available Databases window.
The new SQL Server Address Book or standard databases appears in the list in the left-hand navigation pane.
